by Staff Writer

The way your cabinets look can make or break any room in your home, and a little measuring goes a long way toward getting the look you're going for. You may want cabinet hardware upgrades that fit the existing holes in your cabinets so you don't have to drill new holes or cover old ones. This guide gives you step-by-step instructions to ensure any cabinet hardware update goes as smoothly as possible.
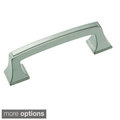
Select a style of hardware that you enjoy. The style can include material, finish and physical design. It is important to choose good-quality hardware with a durable finish that will last many years without tarnishing, rusting or fading. You may want to find cabinet hardware in a metal finish or style that matches the hardware on other furniture or appliances in the room.
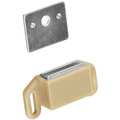
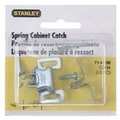
Count the number of knobs, hinges or handles that you will be replacing.
Measure your new hardware. Make certain that your new handles, knobs, hinges or pulls are approximately the same size as the old by measuring each one carefully. New hardware should be no smaller than the originals; otherwise, you may end up with unsightly bare, unpainted or unfinished areas. Record the measurements on a piece of paper for later reference.
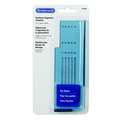
Check the length of the screws included with your new hardware. The screws will be between 1 1/2 and 2 inches in length most of the time. You should check the size of each hole or set of holes for each of the items that you are replacing by holding the screw near the width of the location and making certain that it is not longer than the section is thick. If the pieces of wood are faced, the screw will need to reach into the wood to a depth of about 1 1/4 to 1 1/2 inches to secure the knobs or pulls sufficiently.
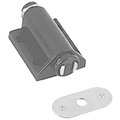
Remove the original hardware by loosening the screws. You might need to use a little WD-40 lubricant to more easily remove the screws.
Drill new holes if your new knobs, hinges or pulls don't fit the old holes exactly. Measure the space between holes carefully. Select the right drill bit size for the screws you are using. Make sure that the drilled holes are perfectly perpendicular to the drilling surface so the handles will be secured properly.
Screw the new hardware in place, one piece at a time. Check each piece for proper alignment. You can tighten the screws more or less to help adjust each piece into the best position.
When using a drill, you should be careful of the cord; keep it away from your feet while you are drilling. You should use safety glasses in case something flies. Keep your hands and fingers away from the drill bit at all times.